Create a SharePoint Wiki: A Guide with Real Site Examples
Are you looking for a way to organise and share knowledge within your organisation? A SharePoint wiki could be the perfect solution for you! In this blog post, we will explore what a SharePoint wiki is, and how you can easily create one using Sprocket 365.
What is a SharePoint Wiki?
A SharePoint Wiki is a web-based platform that allows multiple users to create, edit, and organise information collaboratively. It's an incredibly powerful tool for capturing and sharing knowledge within an organisation. Think of it as a living document that can be updated and expanded by anyone with access to the SharePoint site.
A good SharePoint wiki isn't just a place to store information, it should be a dynamic resource that grows and evolves with your organisation. With Sprocket 365, you can transform your SharePoint platform into a fully functional and highly organised wiki that's easy to navigate and update.
Why use a wiki in SharePoint?
Using a SharePoint wiki can provide several benefits to your organisation, including:
- Collaboration: A wiki allows multiple users to contribute and edit content, creating a collaborative knowledge-sharing environment.
- Knowledge Sharing: It enables employees to share their expertise and insights, fostering a culture of learning and development.
- Documentation: Wikis are great for documenting processes, procedures, and policies, making them accessible to all employees.
- Training: New employees can use the wiki to get up to speed quickly, reducing the time it takes for them to become productive.
- Onboarding: A wiki can serve as an onboarding resource, providing new hires with access to important information and company culture.
- Self-Service: Employees can find answers to their questions without having to rely on others, reducing time spent on repetitive enquiries.
Examples Sites using a Wiki in SharePoint
Here are some examples of different types of sites that can use a wiki in SharePoint:
IT Intranet Site: An IT department can use a SharePoint wiki to document technical processes, troubleshooting guides, and software manuals. This allows IT staff to access information quickly and efficiently, and new team members can get up to speed faster.
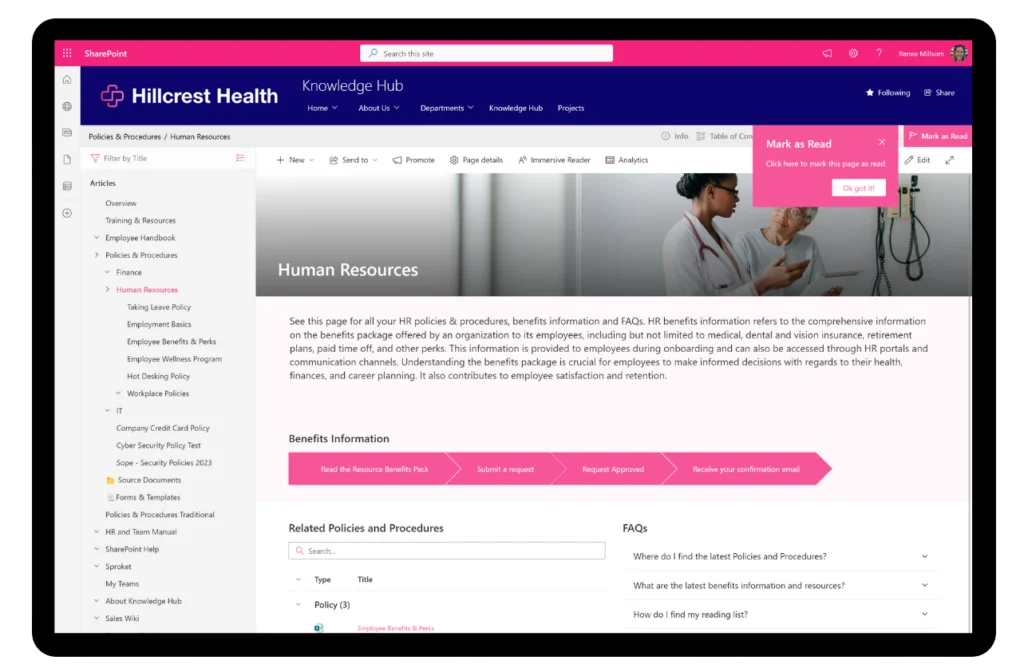
HR Site: An HR department can use a SharePoint wiki to store and share information about company policies, benefits, and procedures. This makes it easy for employees to access the information they need, reducing the number of queries HR staff receive.

Project Management Site: A project management team can use a SharePoint wiki to document project plans, updates, and lessons learned. This allows all team members to stay up to date with the project's progress, and helps to ensure that everyone is working towards the same goals.

Create a Wiki with Sprocket 365
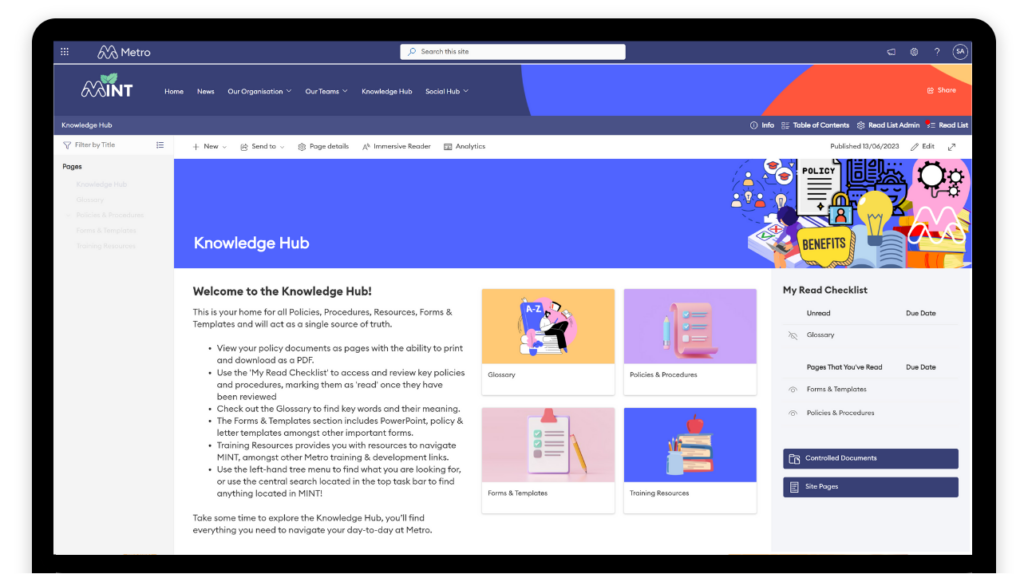
Creating a SharePoint wiki with Sprocket 365 is a simple and straightforward process. The Knowledge Hub Web Part is the central feature you'll be using to build your wiki. Here is how you can do it:
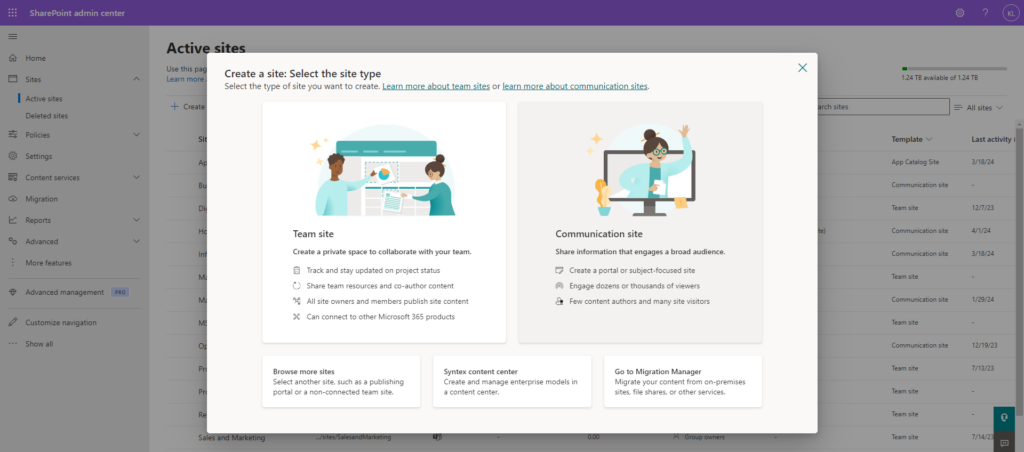
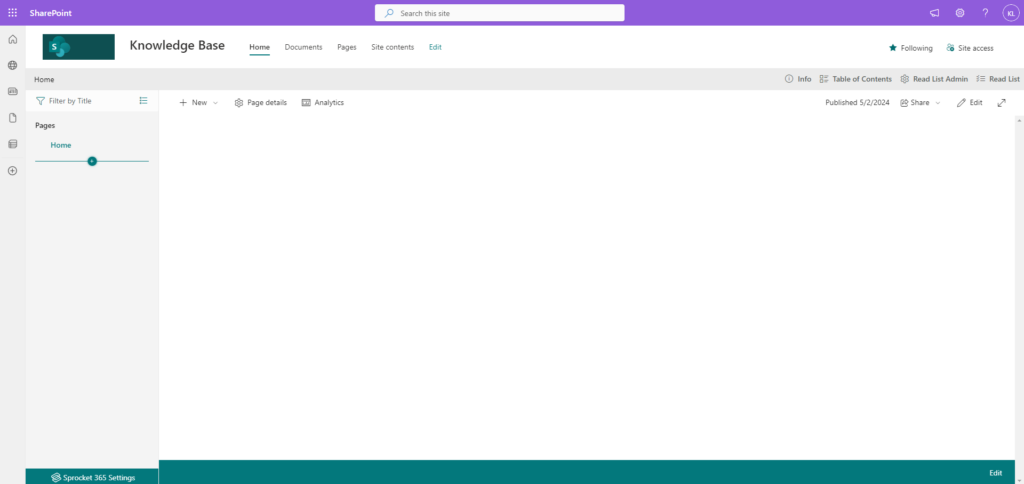
Step 1: Navigate to Your SharePoint Site
First, navigate to the SharePoint site where you wish to create your wiki. If you don't have a SharePoint site yet, you'll need to create one before you can add the Knowledge Hub Web Part.
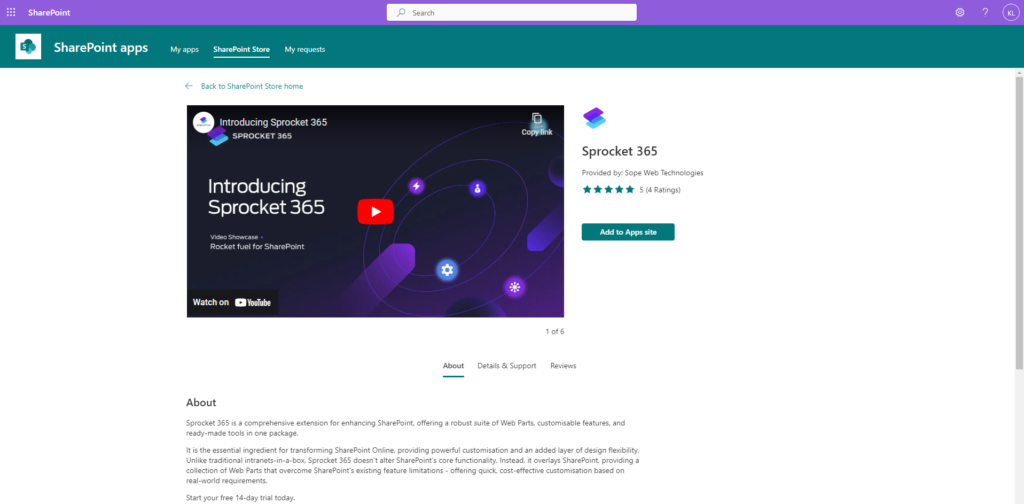
Step 2: Add the Knowledge Hub Web Part
To add the Knowledge Hub Web Part, navigate to the page on your SharePoint site where you want the wiki to be. Then click the '+' button to add a new web part and search for "Knowledge Hub". Once you've found it, click to add it to your page.
Step 3: Configure the Knowledge Hub Web Part
After adding the Knowledge Hub Web Part, you'll need to configure it to suit your needs. This involves setting up the navigation structure, defining the content categories, and selecting the display settings.

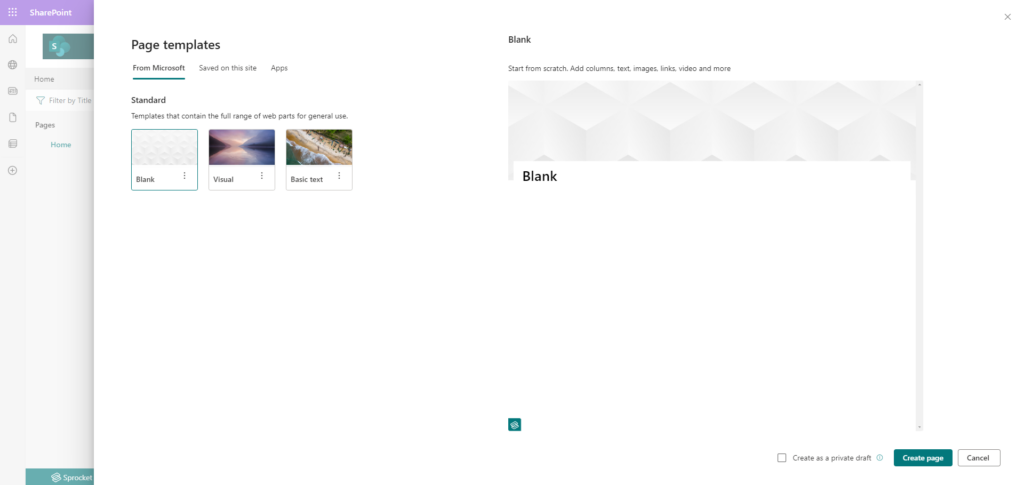
Step 4: Add Pages to Your Wiki
Now that the Knowledge Hub Web Part is set up, you can start adding pages to your wiki. Each page can contain information about a specific topic or subject. To add a page, simply click the '+' button in the navigation pane of the Knowledge Hub Web Part.
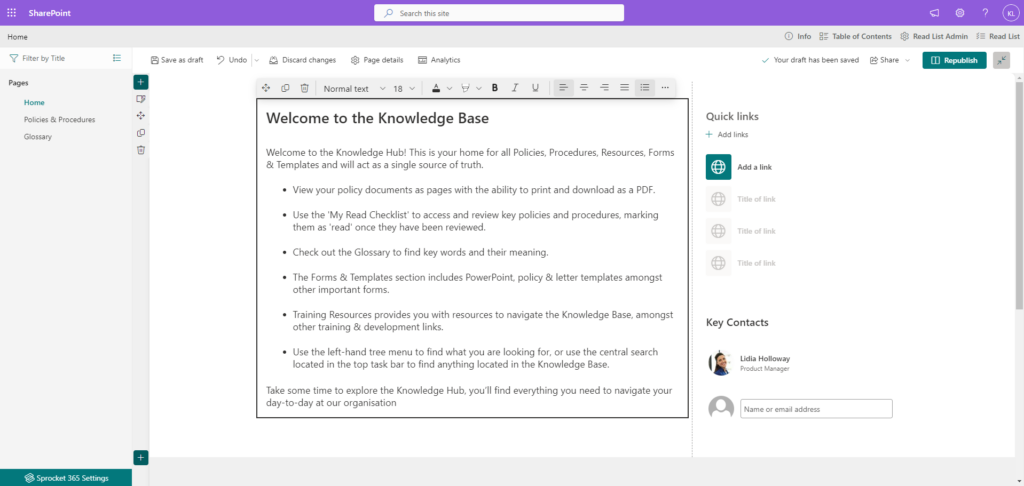
Step 5: Add Content to Your Pages
Once you've created a page, you can start adding content to it. This could be text, images, videos, or any other type of content that is relevant to the topic of the page.
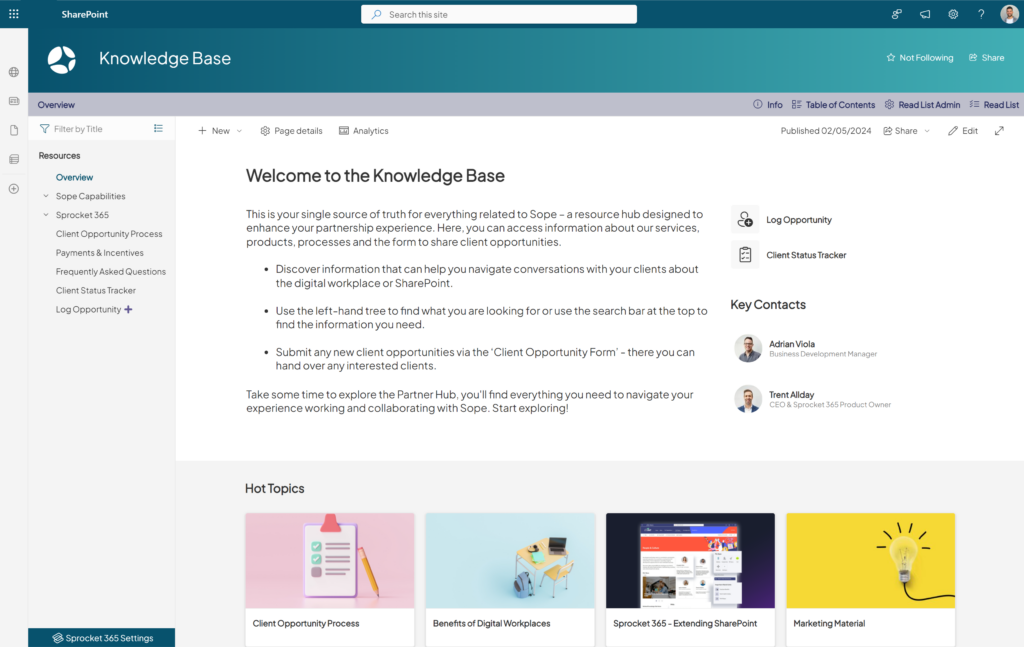
Step 6: Organise Your Wiki
As your wiki grows, you'll need to organise the content to make it easy for users to navigate and find the information they need. The Knowledge Hub Web Part allows you to organise your pages into a hierarchical structure using the navigation pane.
Final thoughts
Creating a SharePoint wiki using Sprocket 365 is a powerful way to organise and share knowledge within your organisation. With the Knowledge Hub Web Part, you can easily create and manage your wiki, making it a valuable resource for your team. Whether you're looking to document processes, share expertise, or improve employee onboarding, a SharePoint wiki could be the perfect solution for your organisation.
Try Sprocket 365 free today
Get started for free, available to try in the Microsoft App Source. Sign up for a 14-day free trial and discover how to build the perfect wiki for your organisation.
No credit card required. Give it a try for yourself!